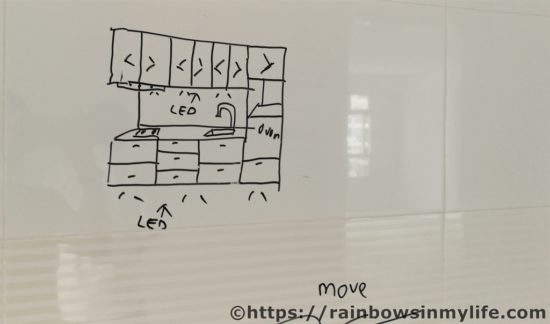
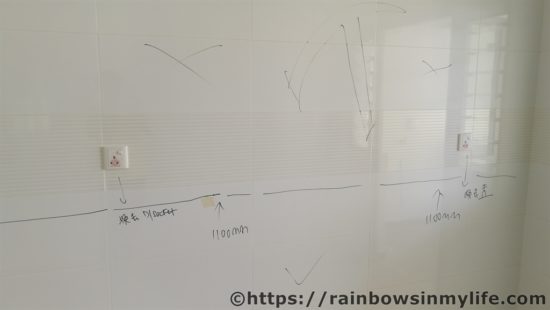
In my previous post, I shared that together with the help of our ID, L, Sunshine checked for defects in our house. During that visit, L drew the plans for our kitchen on our kitchen walls. I thought his drawings looked quite cute. Haha. The only thing was, he drew the plans wrongly!!! The sink and the stove were supposed to be in opposite positions. Lol. We pointed this out to him.
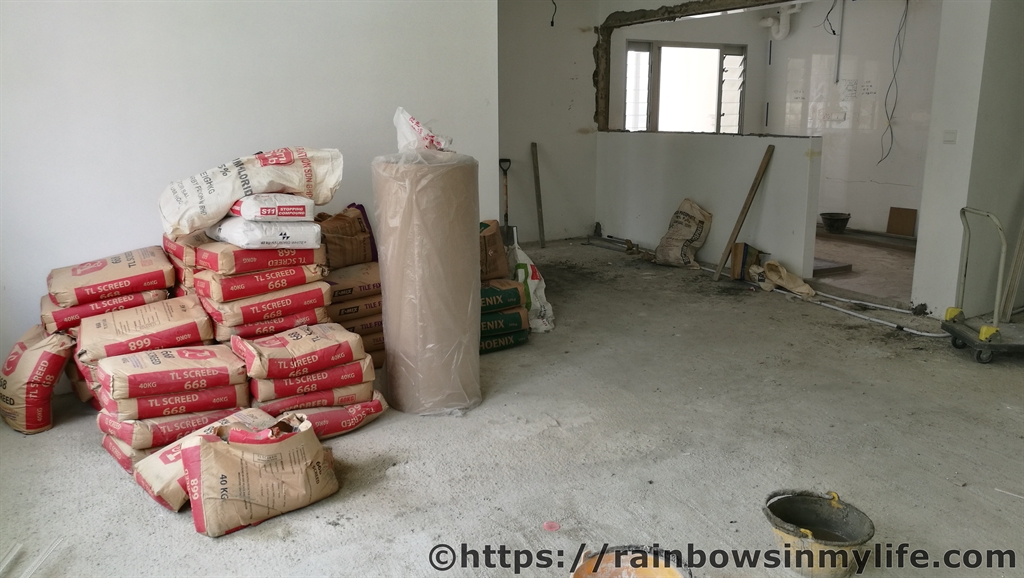
After we submit our defects checklist and the contractors from HDB rectified the issues, my father chose an auspicious date (he insisted) for the renovation works to start proper. This is usually signified by the hacking of some walls. I am not sure what would constitute the start of a renovation if there was no hacking though. Coincidentally, L informed us that there had been some delay in obtaining the necessary approvals from HDB for the hacking approval. The approval was, he explained, customary, but he still needed the paper works to be done before his contractors could start work.
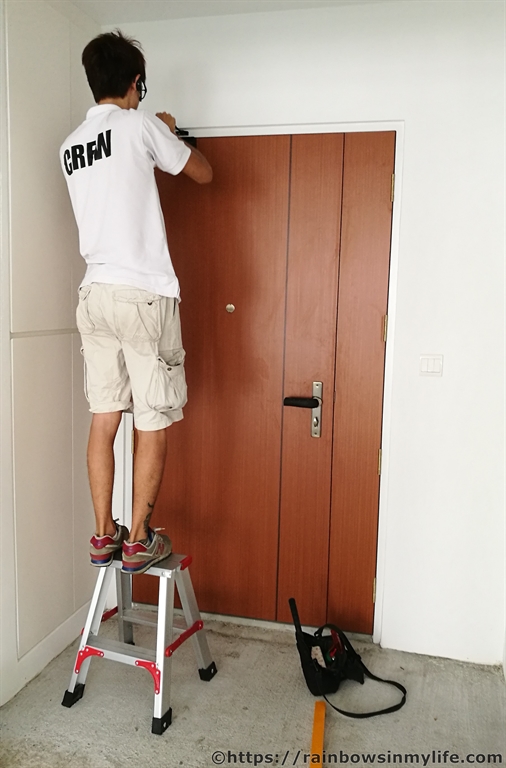
The first thing Sunshine did to facilitate the renovation works was to install a “door arm” (not sure what the correct name for this is) so that the contractors could keep the door open at all times during the renovation instead of having it closed on them or having to use something heavy to keep it open. Sunshine contacted Uni-Arm via FB messenger and requested for a quote. He paid $65 for a black arm and was very pleased with the process and, more importantly, the final product. He was very satisfied with himself for his smart thinking. Lol. We are still very happy with this product for being able to keep our door open effortlessly till today.
Week 1 (Early Apr 2017) – Electrical Works
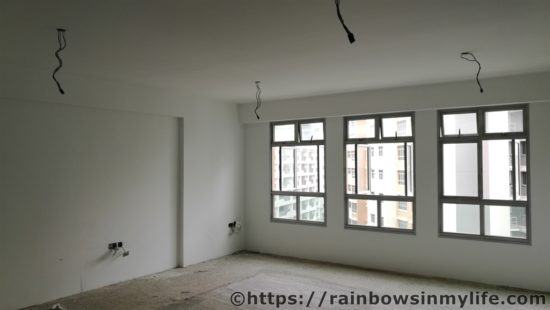
As we did not engage an electrician from our ID, one of the first few things our electrician told us to do was to arrange a meet-up with our ID as soon as possible so that he could understand our renovation plans and support the ID/his contractors. Hence, from the onset, we were grateful and impressed that he took the initiative and was motivated to do a perfect job (because good is just not enough for him). On the day when we were supposed to meet, he had already liaised with L beforehand to obtain the number for the lock on our door, understood the plans briefly and was pulling out the last few cables needed to start his work (when HDB handed over the keys to the owners, all the wires for each socket were kept and capped neatly). We came to our house at 9+am and had a pleasant surprise of the quick work already done. L came at 10+am and had to leave within an hour for another appointment elsewhere *roll eyes*
Week 2 – Hacking of Kitchen Wall
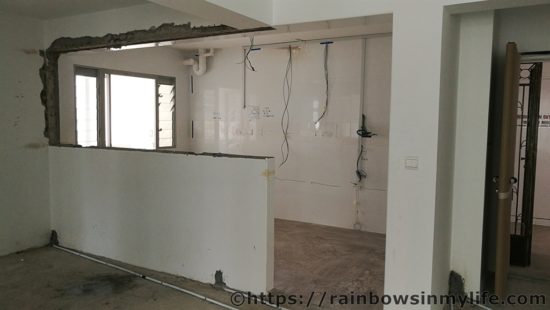
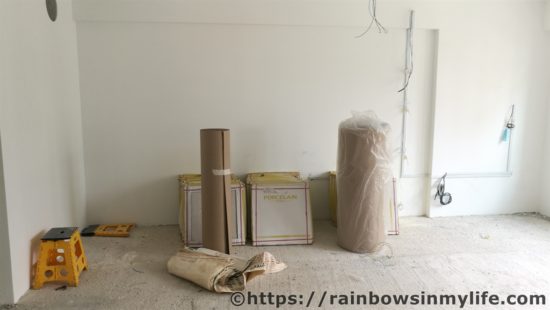
One week later when we went up to our place, we were pleasantly surprised to see the progress of the renovation. In fact, it was really quite thrilling coming to our house weekly and see our home transform bit by bit. During the one week, the hacking of half of the kitchen wall had been completed, the cement screed and tiles had been delivered and electrical lines had been laid. The electrician was really efficient and a perfectionist. He insisted that no wires should be seen and he would do extra work to hack any existing wall or ceiling then mend it back after laying the cables within. For me, it was an eye opener as I had never thought that this could be done.
Week 3 – Kitchen Base is Up!
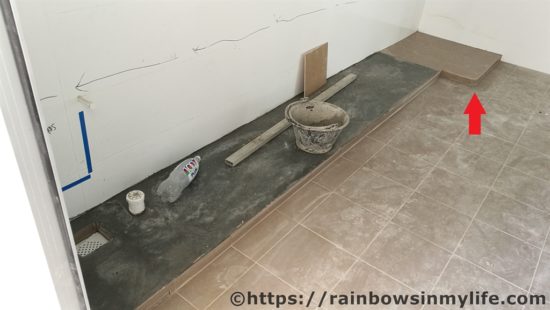
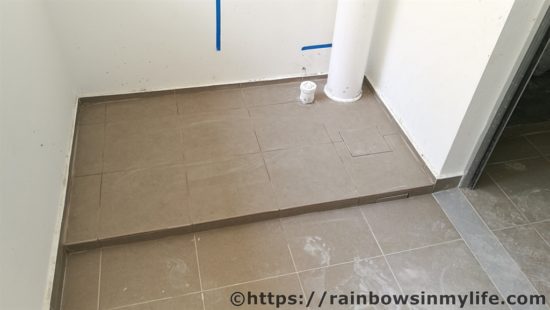
On our third week, the kitchen base was up. Though I thought it was quite slow to only have completed this in a week, we were still quite thrilled to see our home coming up before our eyes! L informed us that he had asked his contractors to round the edge of the base of the fridge for us (as per the red arrow). If not, we might accidentally kick it in the future, injuring ourselves. Good thinking! We would have never thought of that.
I liked that L built a base stretching the whole width of the service yard for us, instead of just building a base for our washing machine. He explained that he did not want us to be restricted by the base of the washing machine in the event that we needed to upsize our washing machine in the future. Building the base over the whole width would allow us flexibility in the size of our washing machine. L’s meticulous nature was one of his strengths.
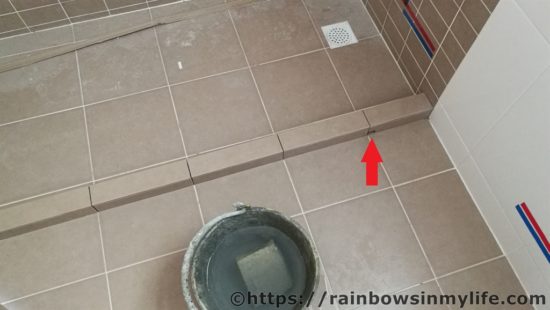
The shower kerb in our toilets were also up! The arrow in the picture below points to a small drainage hole in our master bedroom toilet, something inconspicuous but important to allow water to flow towards the drain. We did not realise that this drainage hole was missing in our common toilet until it was too late (see Step 13 on Defects Check here).
Stay tuned for more updates!
Read Step 6 on Defects Checklist here.
Read Step 8 on Air-con Installation here.
Hello KC,
If you managed to see this comment, pls note that I have tried to reply your email but hotmail has blocked me.
We bought LED strips, track lights and ceiling lights from Taobao. Our LED strips were installed in our cabinets, underneath our kitchen cabinets, in toilets etc and they are still lasting. No issues so far. We use our track lights daily and we had to replace 3 (out of 8) individual lightings this year. The fuse went out one by one. We use our ceiling lights which we placed in our service yard and bomb shelter as and when needed, maybe every 2-3 days? No issues thus far.
We had to buy separate drivers (no issues with our TB drivers thus far too) for our LED strips. The rest of the lights were ready to be installed when they arrived.
Where our LED strips were installed can be found in “Step 12 -Carpentry and Electrical Works”. See how they were used in the picture directly above the section “electrical works”, and the subsequent pictures of our kitchen, toilet, cabinets.
Hope this helps
Hi. the small drainage hole in the shower kerb, is it in the common or master bedroom toilet. actually how does that tiny hole work? meaning water outside the shower kerb zone will flow to some drainage? any ponding issues?
Hi, the small drainage hole is in the master bedroom toilet. By right, the toilet tiles are tilted towards both the floor drains. However, once we build the shower kerb, without the small drainage hole, water from some parts of the toilet cannot flow to the floor drains and water will pool. My common toilet, which does not have this drainage hole, will pool whenever we wash the toilet. 🙁
Hi Rainbow, thanks for your detailed blog. Learnt a lot.
Can I get the contact info for your electrician?
Thanks !!
Hi Peter, I have emailed you. Hope it helps 🙂
Hi. I chanced upon your blog as I’m beginning my own renovation journey.
Sounds like you had such a good experience with the electrician. Possible to share his contact?
So sorry Jason. I have not been checking this page for very long and hence missed your comment. Hope you managed to find someone good!
Hello, may I get the contact for your electrician? Thank you, your blog has been very informative to my hdb reno journey 🙂
Hi Rachel, sorry for my late reply. I have just replied to your email. All the best 🙂