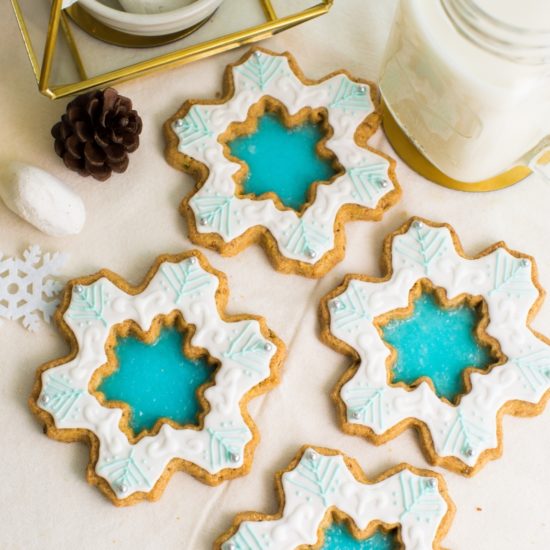
Merry Christmas! I saw Bakers’ Brew Snowflake Stained Glass Cookies (see picture below) on sale and I thought of baking some stained glass cookies to give to my colleagues as well. Hence, I googled for a recipe and tried baking these beauties.
Recipe with Pictures
Makes about 40 stained glass cookies and 40 small sugar cookies
Ingredient list:
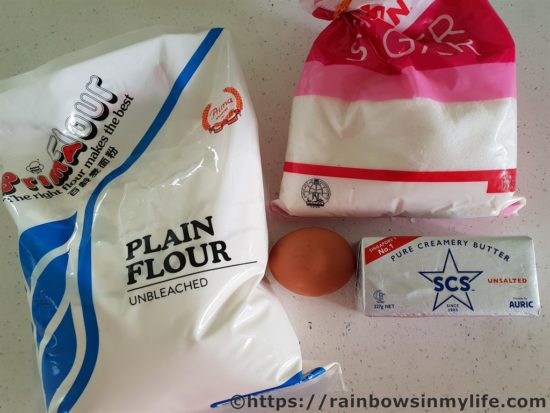
- 227g of unsalted butter (the recipe called for 1 cup of butter but 1 block of SCS butter weighs 227g so I just use 1 block)
- 200g of granulated sugar
- 1 egg
- ⅓ teaspoon of salt
- 360g of plain flour
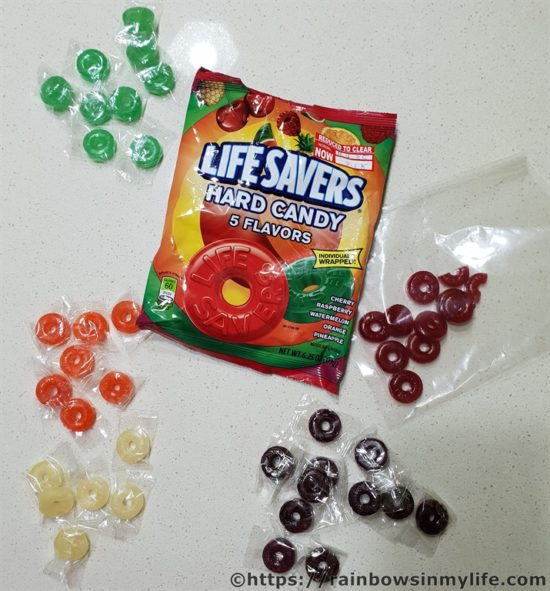
- Some hard candy, crushed into small pieces
My Oven Settings:
180°C; top and bottom heat; about 8-10 minutes
(Settings would differ from oven to oven. Please experiment with yours!)
Steps:
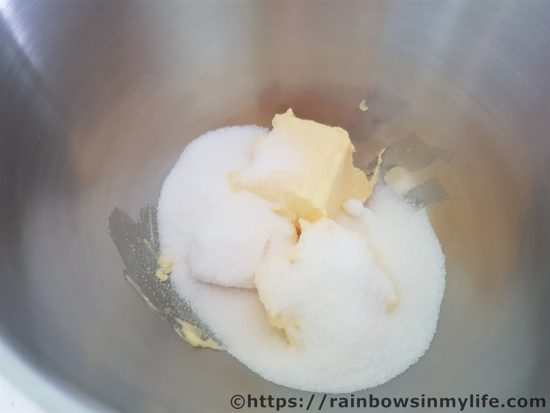
1. Cream soften butter and sugar together till well-mixed (mixture becomes smooth and pale yellow).
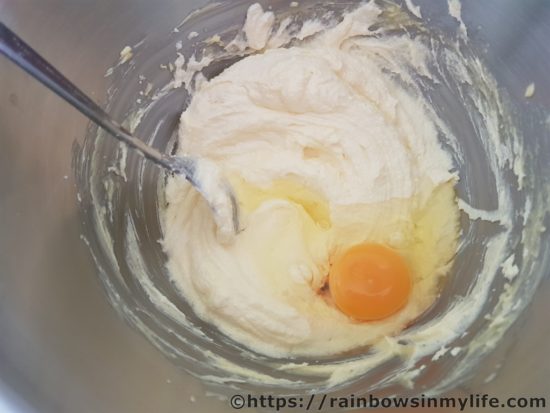
2. Beat in egg till well-mixed.
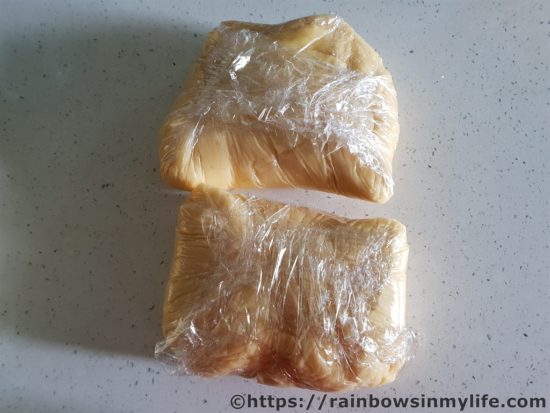
3. Sift in flour and salt bit by bit. Mix until well combined. Scoop the dough together, wrap with cling wrap and chill in the refrigerator for 30 minutes.
4. Separated some hard candy according to its colour and crush them into small pieces. Set aside.
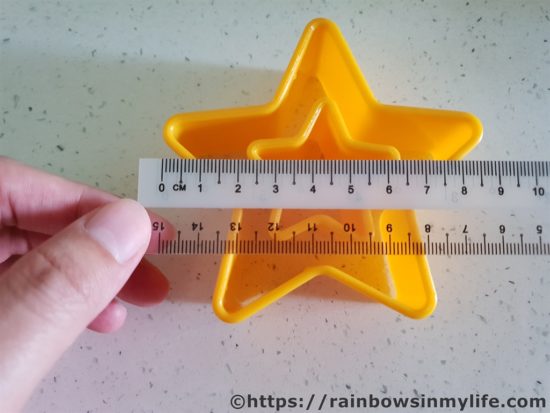
5. Take about half of the chilled dough to roll and cut out the shapes. I used two star-shaped cookie cutters to cut a bigger star and a smaller star in the centre to create a “window”.
6. Fill the centre of each cookie with some crushed hard candy till it is at least ½ to ¾ filled with the cookie. There is no need to ensure that every corner is filled up as the candy will melt to fill up the space later in the oven.
7. Chill the cookies in the fridge while pre-heating the oven.
8. Bake in a preheated oven at the settings mentioned above or until the edges start to brown slightly.
9. After baking, allow the cookies to cool completely on the baking mat before removing it. This is because the candy is still soft and sticky when it is fresh out of the oven. Allowing the cookies to cool completely will also allow the candy to harden for easy removal of the cookies.
Recipe Only
Click to show/hide recipe
Makes about 40 stained glass cookies and 40 small sugar cookies
Ingredient list:
- 227g of unsalted butter (the recipe called for 1 cup of butter but 1 block of SCS butter weighs 227g so I just use 1 block)
- 200g of granulated sugar
- 1 egg
- ⅓ teaspoon of salt
- 360g of plain flour
- Some hard candy, crushed into small pieces (I did not manage to measure the amount of candy used)
My Oven Settings:
180°C; top and bottom heat; about 8-10 minutes
(Settings would differ from oven to oven. Please experiment with yours!)
Steps:
- Cream soften butter and sugar together till well-mixed (mixture becomes smooth and pale yellow).
- Beat in egg till well-mixed.
- Sift in flour and salt bit by bit. Mix until well combined. Scoop the dough together, wrap with cling wrap and chill in the refrigerator for 30 minutes.
- Separated some hard candy according to its colour and crush them into small pieces. Set aside.
- Take about half of the chilled dough to roll and cut out the shapes. I used two star-shaped cookie cutters to cut a bigger star and a smaller star in the centre to create a “window”.
- Fill the centre of each cookie with some crushed hard candy till it is at least ½ to ¾ filled with the cookie. There is no need to ensure that every corner is filled up as the candy will melt to fill up the space later in the oven.
- Chill the cookies in the fridge while pre-heating the oven.
- Bake in a preheated oven at the settings mentioned above or until the edges start to brown slightly.
- After baking, allow the cookies to cool completely on the baking mat before removing it. This is because the candy is still soft and sticky when it is fresh out of the oven. Allowing the cookies to cool completely will also allow the candy to harden for easy removal of the cookies.
Notes:
- The dough is very soft and oily/wet, making it very tedious to work with. I am not sure if it is due to our weather/climate making the dough so hard to handle. I had to keep adding flour and kneading the dough in order to work with it. However, the dough becomes soft and oily very quickly and I had to refrigerate it multiple times. I wish my mum was here with me at my place cos she would always have a way to make the dough easier to work with. Well, I guess I would have to try again to try and find out the problem.
- I first baked the cookies on baking paper initially. However, after the cookies were beautifully done, I could not lift them from the baking paper as the candy was soft. When the cookies had cooled completely on the baking paper, I still could not lift them from the baking paper as the candy had stuck to it. Hence, I could only throw away my first batch. I used a silicon mat for my subsequent batches and the cookies could come off easily after they had cooled completely.
- As can be seen, my cookies were baked unevenly; some cookies were still pale while the rest had browned. I have two theories:
- I did not use the fan option during baking as the recipe did not call for it. However, based on my experience, baking of cookies is usually done with the fan switched on. Would try baking with fan the next time.
- As my silicon mat is bigger than my oven and part of it had to be folded in the oven, I am not sure if it caused the circulation of the air in the oven to be limited to a certain area and hence, baking the cookies unevenly. Perhaps, I would have to look for a smaller silicon mat the next time.
- As the candy melted, bubbles formed. After removing the cookies from the oven, use a toothpick to burst the bigger bubbles to get a prettier centre.
Comments:
The difficult-to-handle dough really made me very vexed and many a times, I just wanted to throw away all the dough, give up and just buy some store-bought gifts for my colleagues. However, thankfully, I started early and not wanting to waste the dough, I persevered. After many hours of hard work, I was finally able to send my first batch of cookies into my oven and when I saw the hard candy melting nicely in the oven, I was elated! Imagine my disappointment when the cookies were stuck on the baking paper! Sigh… Luckily for me, I happened to buy a silicon mat when I went shopping for a rolling pin the day before. I was very grateful to myself then. Lol.
When I sent my second batch into the oven and watched the candy melt beautifully, I was again very happy and excited. I was able to lift the cookies off the silicon mat with ease after they have cooled completely. Yay! I tried one small sugar and realised that it was actually quite nice! I like that there seemed to be a crunchy taste in the cookie, as though nuts were added (nutty texture). The cookie also smelt buttery. It was good on its own without the melted candy. In fact, I found the melted candy to be sticky and that it stuck to my teeth when I ate it. I had the urge to brush my teeth immediately. Lol.
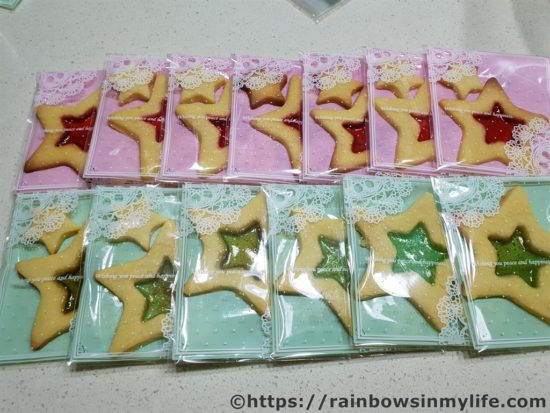
I packed those cookies in pretty cookie bags. When I gave them to my colleagues the next day, all of them exclaimed that the cookies looked very pretty! Yay! I do hope that they would like the taste of the cookies as well and was hence very happy when one of them msged me to tell me that she enjoyed it! (though I know it may be because she is polite lah…)
Recipe Source: Adapted from Cafe Delites (Sugar cookies)






Thanks so much for the reply!! Guess I’ll be getting this oven then. Was looking for a good enough oven to bake! 🙂
Hi rainbow, came across your blog while looking for reviews on Delonghi EO32852 oven. I’m thinking of getting this oven. 🙂 May I ask whether you still using this oven, and how do you find it so far? Thanks!! 🙂
Hi Clara, I shifted this oven back to my mother’s place around end of last year as her oven spoilt. Hence, I am not using it anymore and have no oven at home now 🙁
I find this Delonghi oven to be a decent oven which allowed me to bake many things ranging from cakes to cookies to macarons etc, at a value-for-money price. Not sure if you have seen my post on the review but in addition to the points listed, my other grouse is that the oven is too small! After baking for a few years (and getting a little more confident in certain bakes), I would prefer a bigger oven to bake more batches at the same time (this was one of the main reasons for me giving my mum the oven, just so that I could get a built-in oven… before the circuit breaker measures disrupted all my plans). Otherwise, I have always been quite satisfied with this oven 🙂
This is the post I was talking about: https://rainbowsinmylife.com/review-of-my-delonghi-oven.html