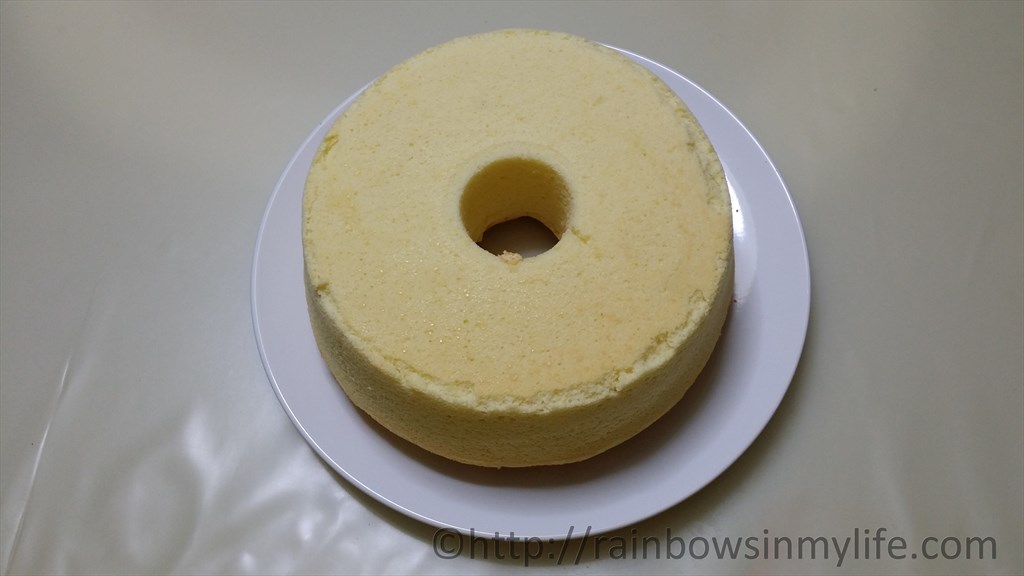
I have never baked a cake before (besides cheesecake) and I was itching to “upgrade” and prove to myself that I can bake cakes. I was reading through baking blogs when I saw this white beauty! The cake looked so white and perfect that I knew I had to try baking it. Haha. With this thought in mind, I set out to bake my first cake, my first ever chiffon cake too!
Recipe with Pictures
Makes a chiffon cake (20 cm chiffon pan)
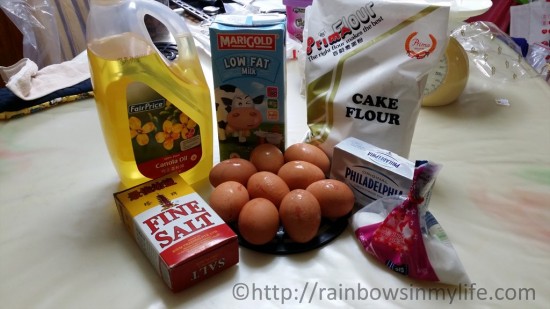
Ingredient list:
For the Egg Yolk Batter:
- 200ml of milk
- 200g of cream cheese (I used Philadelphia Cream Cheese)
- 80g of egg yolks (about 3 to 4 eggs, weighing about 65g each)
- 50g of caster sugar (recipe calls for 70g)
- 80ml of vegetable oil (I used canola oil)
- 160g of cake flour
- ¼ tsp of salt
For the Meringue:
- 280g of egg whites (about 7 eggs, weighing about 65g each)
- 50g of caster sugar
My Oven Settings:
160°C; top and bottom heat; about 10 minutes then reduce the temperature to 150°C for 10 minutes then further reduce the temperature to 140°C for 50 minutes.
(Settings would differ from oven to oven. Please experiment with yours!)
Steps:
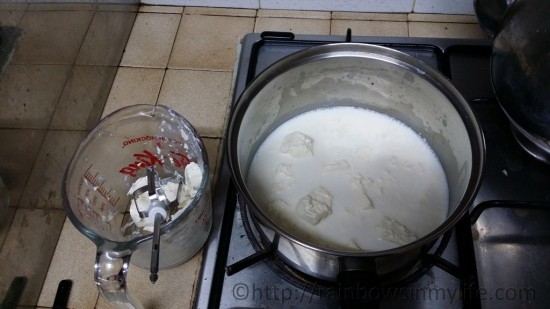
1. Heat the milk over the stove and stir in cream cheese (cut into smaller pieces to aid in the process) till completely dissolved and the mixture is smooth. Set aside to cool.
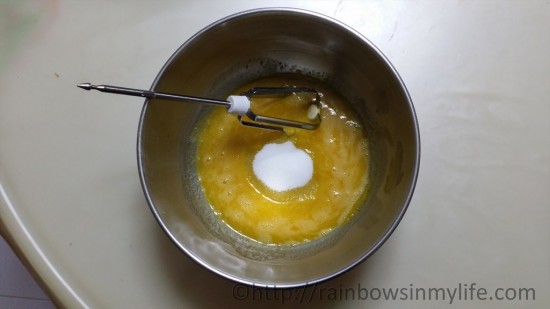
2. Measure the required amount of egg yolks in a mixing bowl and add in sugar slowly. Using a whisk, stir continuously until all the sugar has dissolved and the mixture becomes lighter in colour.
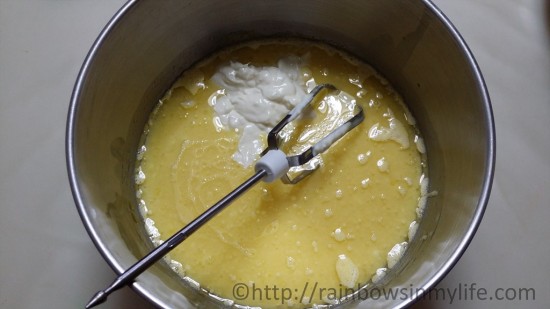
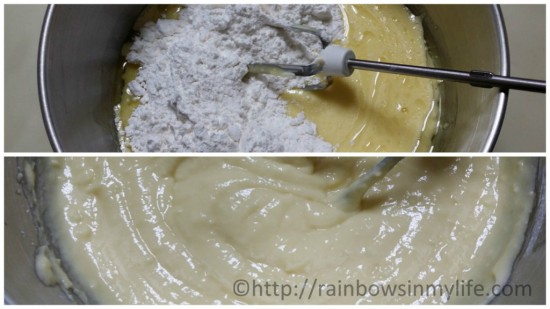
3. Pour in oil and then stir in the cream cheese mixture till well combined.
4. Sift in cake flour and salt together into the mixture in a few additions. Mix well, ensuring that there are no pockets of flour in the mixture. Set aside.
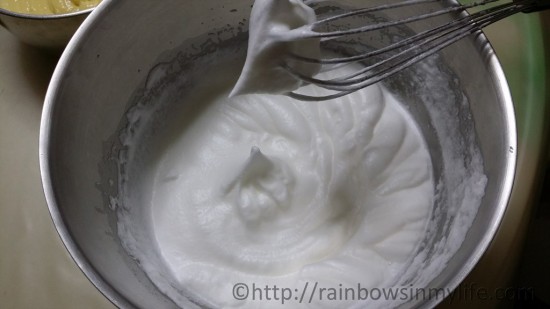
5. Beat the egg whites until they foam and add in sugar slowly. Continue beating the egg whites till they become glossy and leave tracks in the meringue. When you lift your whisk, peaks should form but the tip will droop slightly. (The author terms it “firm peak stage”, where it is stiffer than the soft peak stage but softer than a stiff peak stage).
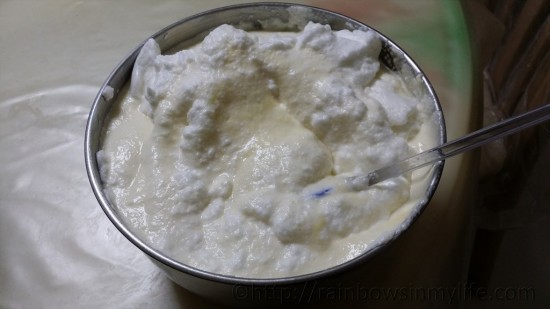
6. Fold the meringue into the egg yolk batter 1/3 at a time till well combined.
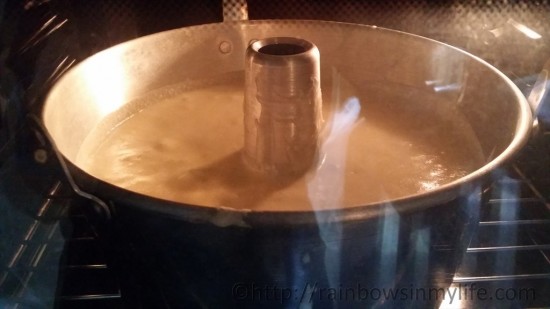
7. Pour into a ungreased chiffon pan when done and drop the pan two to three times from about 10cm high to remove any large air pockets.
8. Bake in a preheated oven at the settings mentioned above or until a toothpick inserted into it comes out clean.
9. When your cake is done, remove it from the oven and invert it immediately until it cools.
Recipe Only
Click to show/hide recipe
Makes a chiffon cake (20 cm chiffon pan)
Ingredient list:
For the Egg Yolk Batter:
- 200ml of milk
- 200g of cream cheese (I used Philadelphia Cream Cheese)
- 80g of egg yolks (about 3 to 4 eggs, weighing about 65g each)
- 50g of caster sugar (recipe calls for 70g)
- 80ml of vegetable oil (I used canola oil)
- 160g of cake flour
- ¼ tsp of salt
For the Meringue:
- 280g of egg whites (about 7 eggs, weighing about 65g each)
- 50g of caster sugar
My Oven Settings:
160°C; top and bottom heat; about 10 minutes then reduce temperature to 150°C for 10 minutes then further reduce temperature to 140°C for 50 minutes.
(Settings would differ from oven to oven. Please experiment with yours!)
Steps:
- Heat the milk over the stove and stir in cream cheese (cut into smaller pieces to aid in the process) till completely dissolved and the mixture is smooth. Set aside to cool.
- Measure the required amount of egg yolks in a mixing bowl and add in sugar slowly. Using a whisk, stir continuously until all the sugar has dissolved and the mixture becomes lighter in colour.
- Pour in oil and then stir in the cream cheese mixture till well combined.
- Sift in cake flour and salt together into the mixture in a few additions. Mix well, ensuring that there are no pockets of flour in the mixture. Set aside.
- Beat the egg whites until they foam and add in sugar slowly. Continue beating the egg whites till they become glossy and leave tracks in the meringue. When you lift your whisk, peaks should form but the tip will droop slightly. (The author terms it “firm peak stage”, where it is stiffer than the soft peak stage but softer than a stiff peak stage).
- Fold the meringue into the egg yolk batter 1/3 at a time till well combined.
- Pour into a ungreased chiffon pan when done and drop the pan two to three times from about 10cm high to remove any large air pockets.
- Bake in a preheated oven at the settings mentioned above or until a toothpick inserted into it comes out clean.
- When your cake is done, remove it from the oven and invert it immediately until it cools.
Comments:
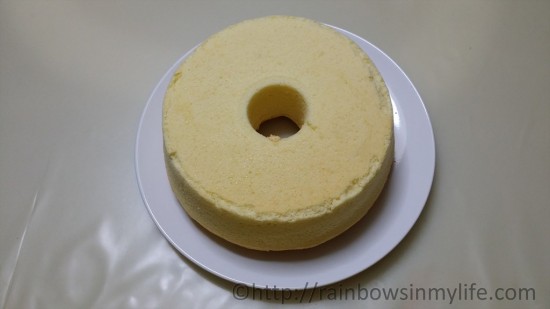
I have read so much horror stories of chiffon cakes not rising during baking, that it rises but collapses after being taken out of the oven, that it sinks when cut or different densities within the cake itself etc. Hence, I was waiting with bated breath as to how my chiffon would turn out from the moment I sent it into the oven till I cut it. Luckily, my chiffon cake turned out successful (albeit not so prettily)!
This is my first time baking a chiffon cake and hence, I am very happy and satisfied! I think some pointers to note are:
- Ensure that your meringue and your egg yolk batter is mixed well so that there would not be a problem of mixed densities within the cake itself.
- The author’s cake was white while mine turned out yellow. Some people commented that the difference in colour is due to the different types of vegetable oil used. (The author used coconut oil but I used canola oil). You may try out with the different oils then let me know! 🙂
- Each oven behaves differently and hence, monitor your cake during the baking process, especially if you are baking it for the first time! I did not monitor my cake very closely and hence, my cake has cracked top. The author suggests putting a piece of greased aluminium foil over the pan if the cracks start to appear. I also read that if the oven temperature is too high, your chiffon cake will rise (and crack) then collapse later when you take it out of the oven. Lower the temperature and bake the cake longer once you see big cracks on your cake.
- Wait till your chiffon cake cools down completely before trying to remove it from the pan to get a pretty cake. I read that inverting a chiffon cake when it cools will prevent it from collapsing afterwards.
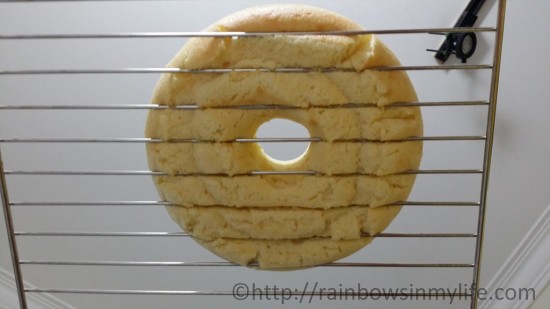
- For this particular chiffon cake, the author suggests to invert the chiffon cake over a cooling rack as it will unmold easily. Inverting it over a bottle like you do for other chiffon cakes may mean that your chiffon cake will drop out! My guess is that this is because being a cream cheese chiffon cake, it is actually denser and “heavier” than other chiffon cakes like pandan chiffon cake, orange chiffon cake etc. Hence, it will “drop out” by itself as it cools while being inverted. However, I realised that inverting over a cooling rack is not a good idea at all! My cake got stuck to the rack after it has cooled down and I had trouble trying to remove it from the rack without damaging it. In the end, on top of cracks, my chiffon cake has lines on its surface (its base, when inverted) as well! I suggest inverting it over a plate and then after the cake has dropped onto the plate, to lift it up from the plate occasionally for the heat to escape. Hopefully, this would prevent the surface (now bottom) of the cake from sticking to the plate and getting its “skin” peeled off.
I find that this chiffon cake is denser than a “normal” chiffon cake, yet slightly lighter than that of a cotton cheesecake. If you like Japanese Cheesecake but find the taste too strong for you, then try this! This chiffon cake has the distinct cheesecake taste yet it is not too overpowering that you can definitely have one slice after another!
Recipe Source: Baking Taitai
