Exactly two weeks, Sunshine brought me to JannPaul (JP) to choose my own engagement ring. One of the unique features of buying from JP is that they are very open about the quality of their diamonds and would hence, not only allow customers to assess their diamonds under various scopes but also send customers the scope images of their chosen diamond. JP said they would take about two weeks to send me mine but they sent me in a week! I was already looking forward to receiving mine the very next day after Sunshine bought the diamond! Haha.
One could use all the scopes to assess the symmetry of the diamond; the arrows, “circle” in the centre of the diamond, the hearts etc. Just to share, here are the scope images of my diamond! =D
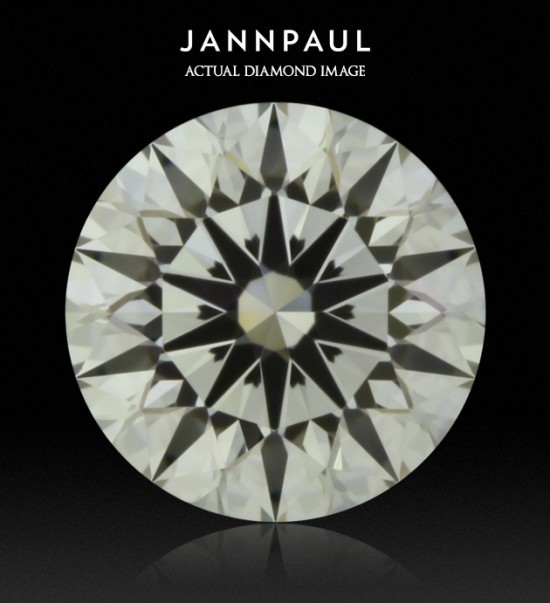
1. The actual diamond image
For my Solasfera diamond, there are 10 arrows instead of the normal 8. *beams widely*
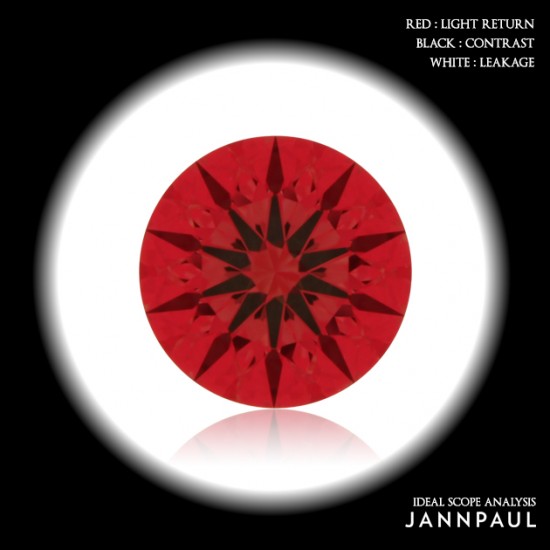
2. Under an Ideal scope
As indicated on the image itself, the red areas are where light would be reflected from the diamond, making it shine while the areas in black are contrast areas. There is no white region on this diamond because of its special cut. A Solasfera diamond has zero light leakages and that is why it is more shiny than diamonds of other cuts with similar qualities.
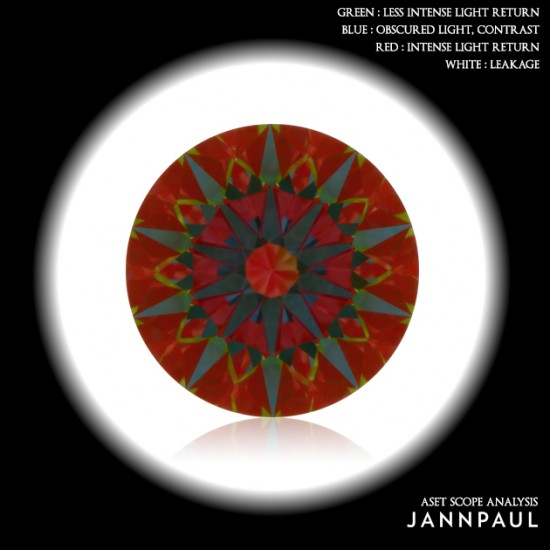
3. Under an Aset scope
Similar to the Ideal scope, the Aset scope shows us the light performance of a diamond. However, it is more useful as it tells us how intense the light return is. Areas in red have more intense light return than areas in green. Again, there are no white areas seen for this diamond. Any inclusions could also be seen using this scope if they are big/obvious enough.
4. Under the Hearts and Arrows scope


