Weeks 12 and 13 – Carpentry Works
We did not visit our house in Week 11 of the renovation period. In weeks 12 and 13 when we came, we were pleasantly surprised to see our carpentry almost done! It was so exciting to see our home coming together bit by bit! <3
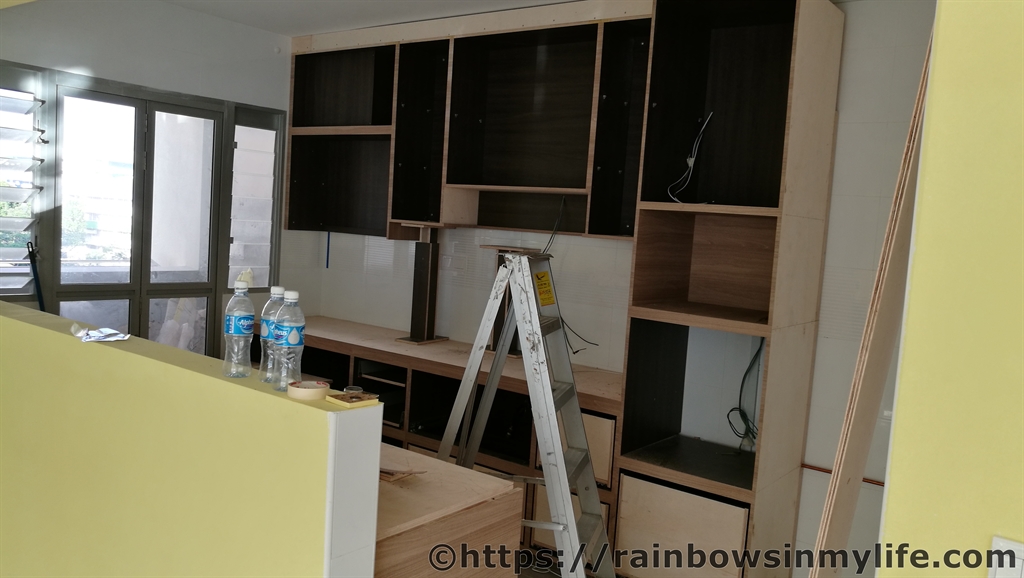
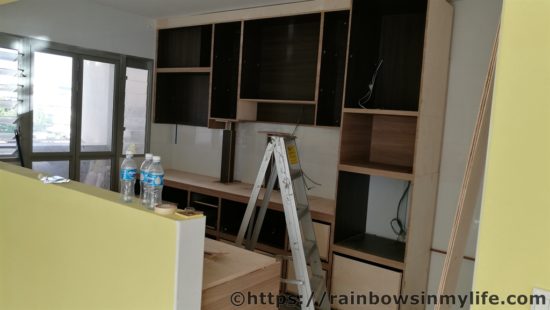
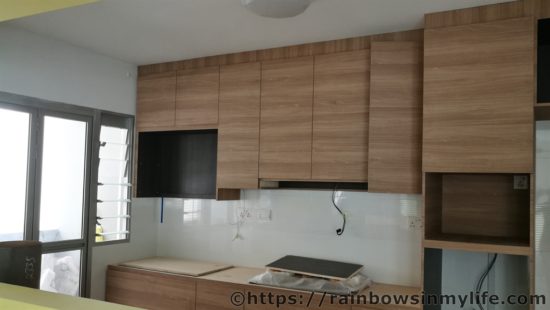
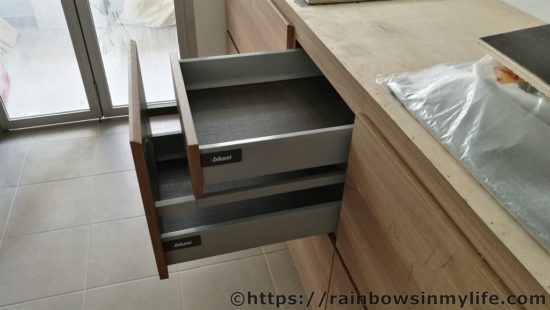
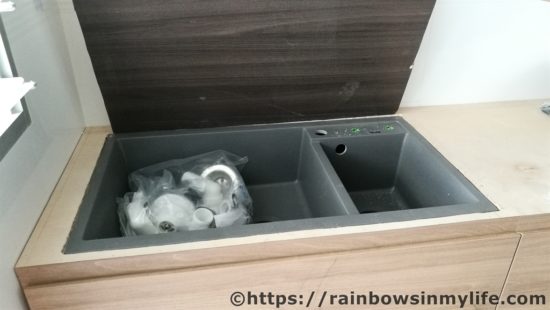
First, a preview into our kitchen:
Sunshine and I discussed for quite some time before we decided on an undermount sink. We both liked that it would be flushed together with our quartz counter-top and that we can just sweep any spills from the counter-top to the sink (if any). Haha. However, our ID, L warned us that if we were to change our sink, we would have to remove our whole stretch of quartz to do so since it would be one piece of quartz for our counter-top now. Sunshine was quite adamant on this and said that he would pay for the replacement of the counter-top when the time comes. Lol. What else can I say since someone had volunteered to pay? Hehe.
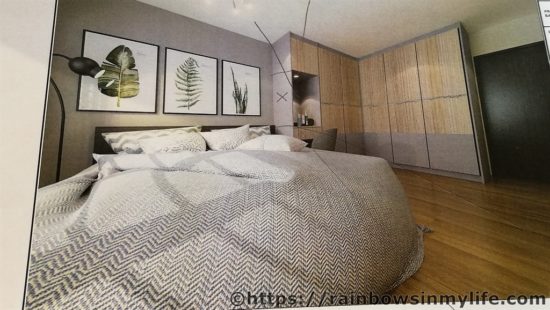
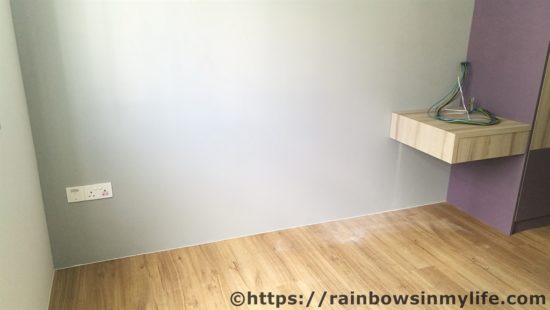
The carpentry in our master bedroom was also up! However, unlike what we saw on our 3D drawings, I felt that the colour of our cabinets was really really very ugly! This was what was shown on our 3D drawings, a greyish-purple/purplish-grey colour which I was ok with:
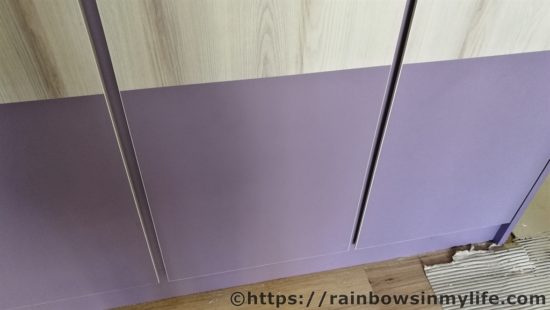
This was the actual product! Omg! So yucky! Sunshine agreed with me. He did not like the purple as well.
I was really very upset with the colour and after checking with L if there had been a mistake, he confirmed that this was indeed the colour I chose. Omg! The 3D representation and the actual product was so different can! As he could also tell that I was not pleased with the colour, he offered to change it for me at no extra charge. The only thing was, by changing, he actually meant stripping off the purple laminate and pasting a new laminate of our choice over. There would not be new cabinets being replaced for us. Sigh! I was really in a dilemma as to what I should do: accept the ugly colour and face it everyday or get him to change the laminates. I was concerned that stripping out the laminate would compromise the quality of the cabinets as some of the cabinet would inadvertently get stripped out as well with the laminate, spoiling them! *cries!* I thought about this over the next few days and decided that I really could not live with this colour. As usual, Sunshine was supportive of me and reassured me that we could just change the cabinets when they spoil in future. I think he was secretly relieved that I would rather risk spoiling the cabinets than live with the colour. Lol. I have no regrets on this decision till this date. In fact, I think I would be very miserable if I have to stare at this purple day in and out. Yucks. We chose a safe wooden colour eventually, something I think L was not very satisfied with cos it was a boring colour, given that our kitchen cabinets were also brown (albeit different shades). He did not voice it out explicitly except to ask us to reconsider and confirm that we indeed prefer brown. Lol.
Read Step 10 on flooring defects here.
Read Step 12 for more carpentry and electrical works here.
Hope to see your finished reno soon!
Haha. I will try to update more frequently XD