With our house almost done, Sunshine and I went for more shopping to spruce up our home!
Window Grilles: $1,538
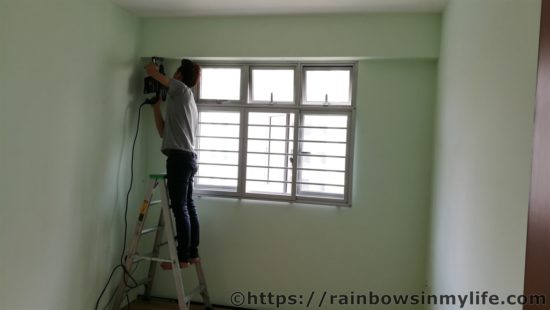
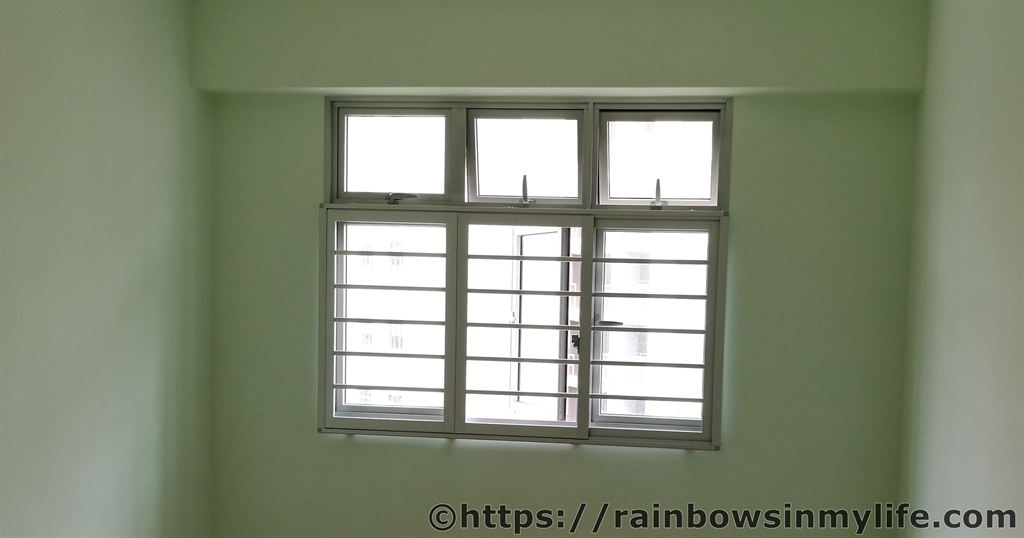
When we were doing our renovation, one of the more common companies for window grilles was U-gate Design. We saw that there was some ongoing promotion while we were doing our research and decided to head down to their company (industrial area) to understand more about their products. Sunshine was satisfied with their products (material) and explanation and more importantly, we thought the price quoted was reasonable. Their grilles are really light weight and slim! Hence, we went ahead to install slim grilles for our living room, three bedrooms, service yard and master bedroom toilet. We also installed sliding windows in our service yard.
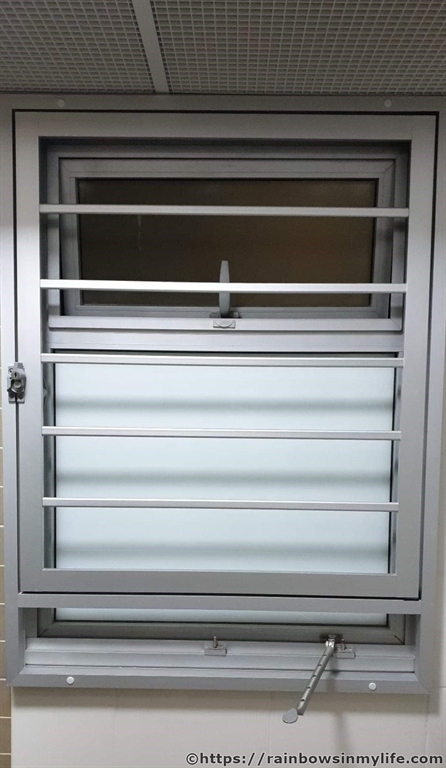
The whole installation took less than a day to complete and we were (and still are!) satisfied with our grilles.
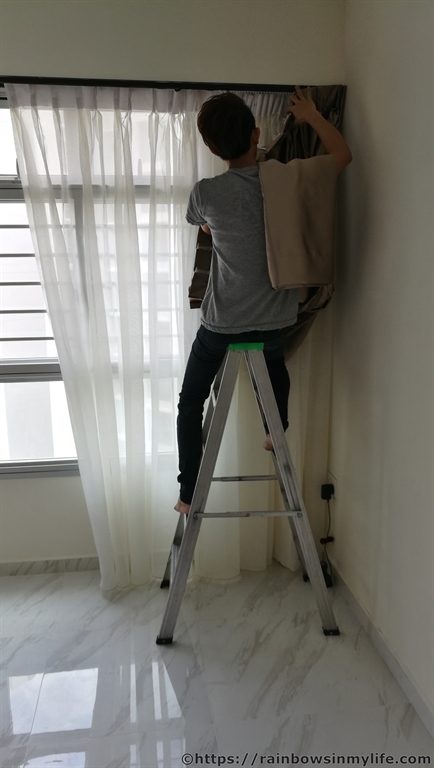
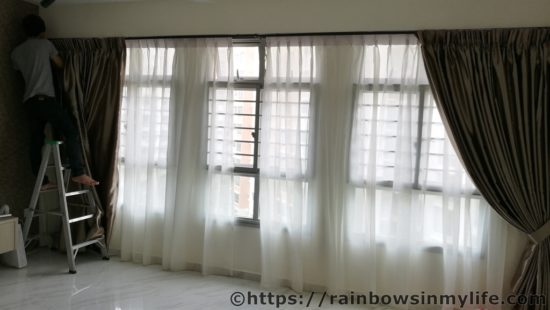
Installation of curtains: $988
I got this contact online from a Facebook group and we were quite pleased with the quality and service of this company, Home Curtains and Blinds.
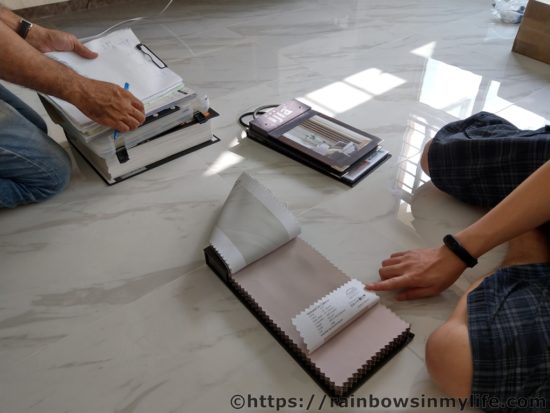
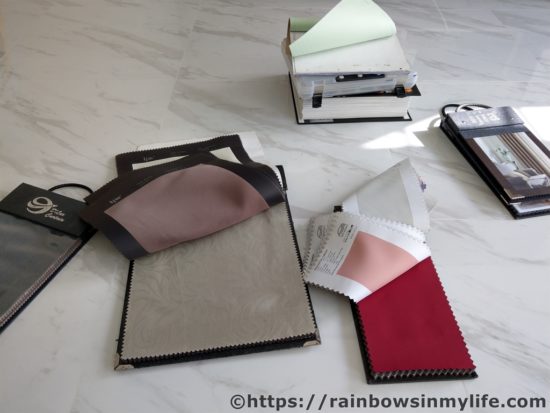
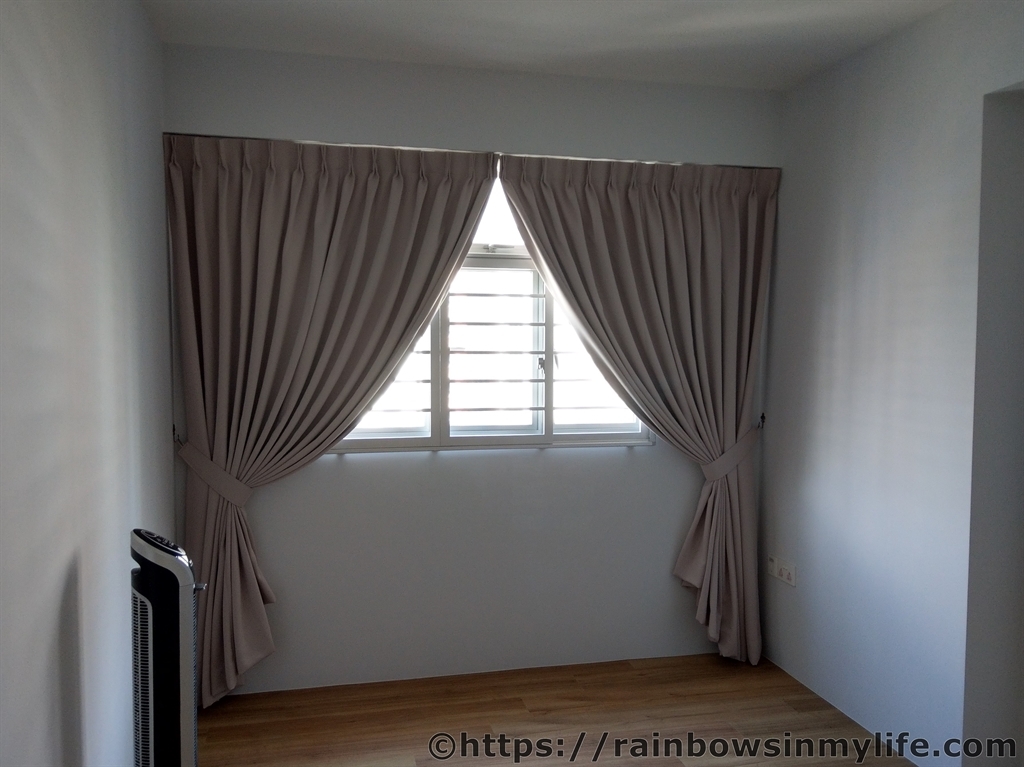
Unlike another company which also came to our place for a non-obligatory quote, Home Curtains and Blinds was cheaper (the other company quoted us $1,300 for the same thing, even though the brochure stuck in our lift stated $888) and was able to suggest one colour for all our three rooms. As each of our rooms were painted a different colour, the other company suggested three different colours for our curtains as their company did not have a colour which could match all the colours of our rooms. We preferred Home Curtains and Blinds’ suggestion of having only one colour for all our rooms and were very pleased with the colour suggested as well. Our friends all commented that they like our curtain colour for our rooms too! At the first visit, the salesperson took down the measurements for all our windows for the curtains and gave us some suggestions e.g. having a day curtain only in the living room, before providing a quote for us (the price quoted was what had been shared in the Facebook post as well for a 5 room and hence, we were already prepared). We were satisfied with the service and choice of curtains we chose and paid a $100 deposit.
At their next visit, one staff single-handedly installed all the curtains for us and we now have a cosier looking home! We were (and still are!) satisfied customers.
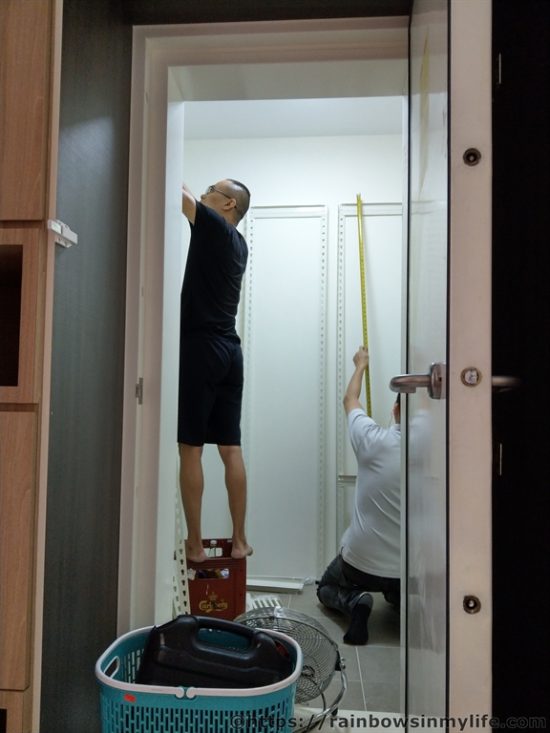
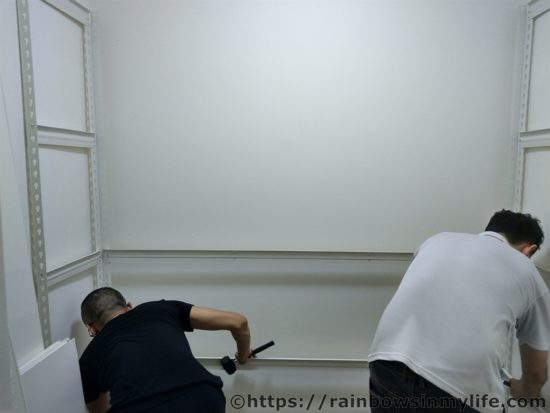
Installation of storage racks in the bomb shelter: $388
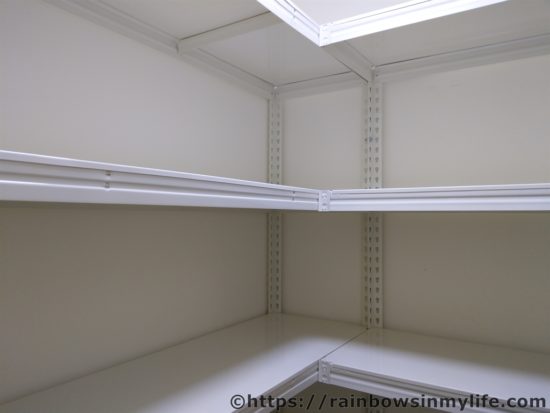
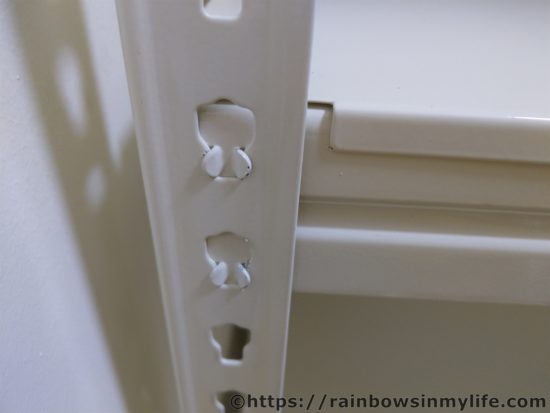
Sunshine researched on this (as he was the one with preferences for this storage) and decided on SGShelving.com as he liked their metal shelves and bolt-less system. Sunshine provided the measurements of our bomb shelter and they offered us a few options for us to choose from. Sunshine wanted a L-shaped rack and arranged a date for them to install the racks. On the day of installation, two staff came and swiftly assembled the racks. The whole process from enquiring about their services to the installation was fast and seamless. We, especially Sunshine, were (and still are!) happy customers.
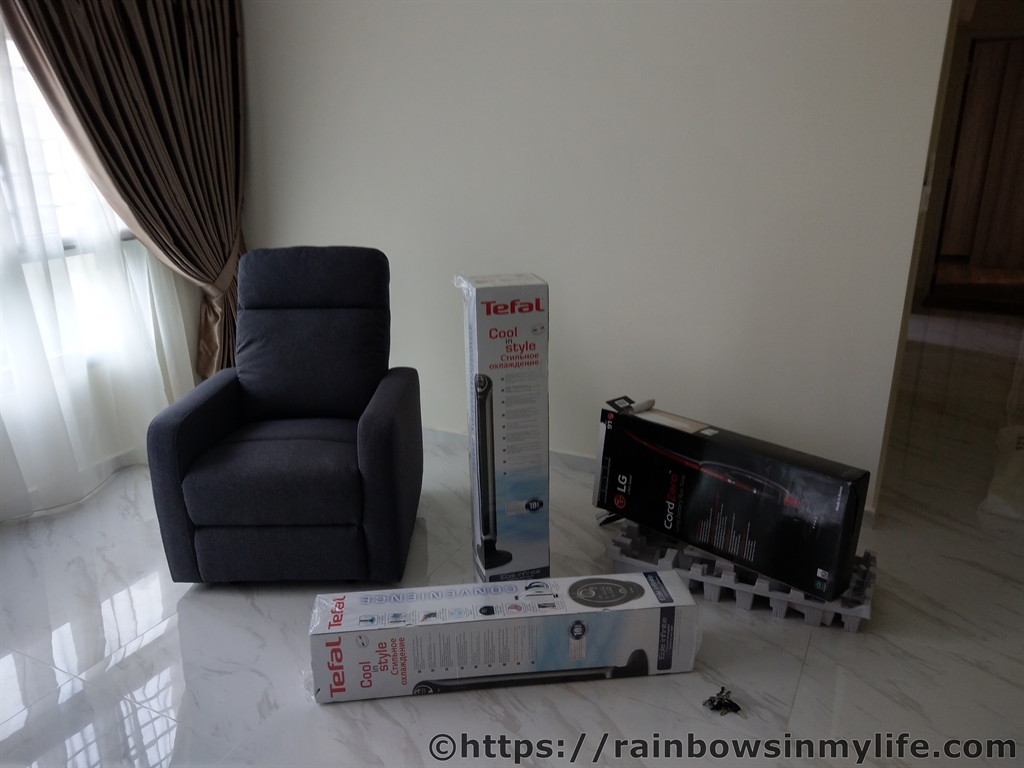
Coffee table, Tower fans, Handheld vacuum cleaner and Recliner: ~$1,300 (inclusive of delivery fee)
Sunshine and I shopped around for a while before we eventually bought the above items from Courts.
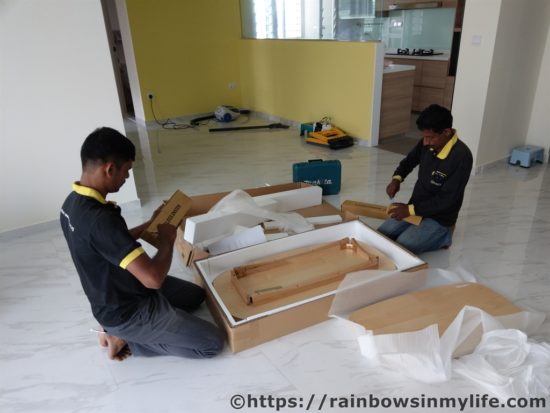
Courts personnel delivered and assembled the coffee table for us on a random Saturday. I remembered feeling surprised at the weight of the coffee table and the effort needed to assemble it. Both workers were perspiring after assembling the table for us. However, within a year of using, the coffee table had developed a crack in its middle! We suspected that it must have been due to moisture whenever we wipe our coffee table. We even checked for warranty for this purchase but we did not have any. Sigh.
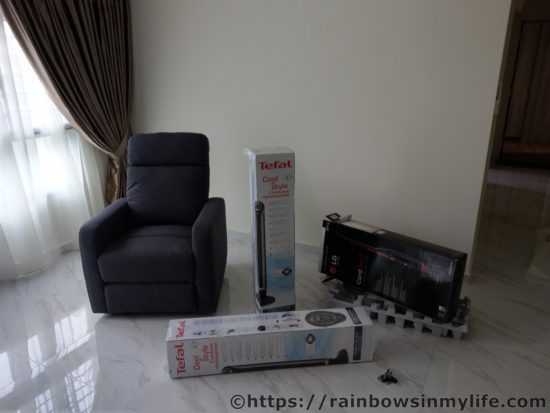
We thought a tower fan would be able to deliver the same amount of wind as a standing fan but had the advantage of being lighter and easier to shift around the house when needed. Hence, we bought tower fans instead of standing fans. However, we realised our mistake as most tower fans were not as stable (you could push the tower and most would sway). Sunshine also disliked the tower fan as he mentioned that the wind delivered was not strong enough. For me, my discomfort lies in the cleaning of the fan. Unlike a standing fan where I could dismantle its head and wash it, I am not sure if our tower fan could be dismantled for easier washing. Hence, I could only wipe the individual spaces one by one. *tired*
The vacuum cleaner was one of our best friends as we first shifted into our home. However, after the Xiao Mi robotic vacuum cleaner caught Sunshine’s eye and he bought it, we rarely used the handheld vacuum cleaner except for the occasional vacuum of the corners and hard-to-reach corners for the robotic cleaner.
I wanted to buy the recliner as I like the material which was so comfortable I could lie sleeping on it. It was a want, more than a need. However, after we bought it, we hardly use it and it is now a storage area for me to pile my bags and random stuffs on in the living room. I am hoping that I could use it for nursing my baby eventually when the time comes (though I am not sure if the soft recliner would be able to provide adequate support needed during breastfeeding.
Read more on Step 13 on Defects Checking here.
Read more on Step 15, the final look of our home here!
